

For those of you who noted my blogging absence for a couple of days, I was away in the Gulf Islands. Not that I wasn't busy! I spent most of rainy Saturday playing around on paper with a new cockpit design. My idea is to secure a permanent straight flange to the inner side of each hull between where the mast and aft beam fit. To this flange will bolt seat boxes. Between the seat boxes at cockpit floor level I will bridge the seat boxes with a trampoline. This way the boat won't experience the slamming some owners note and as is common in cats with a bridge deck. Issues to be resolved - attachments of components and where to stick the auxilliary. Can I get away with a 5 hp outboard and will it fit in a seat box? I'm thinking of the Honda 5 hp as you can get it with an alternator. I have more head scratching to do!
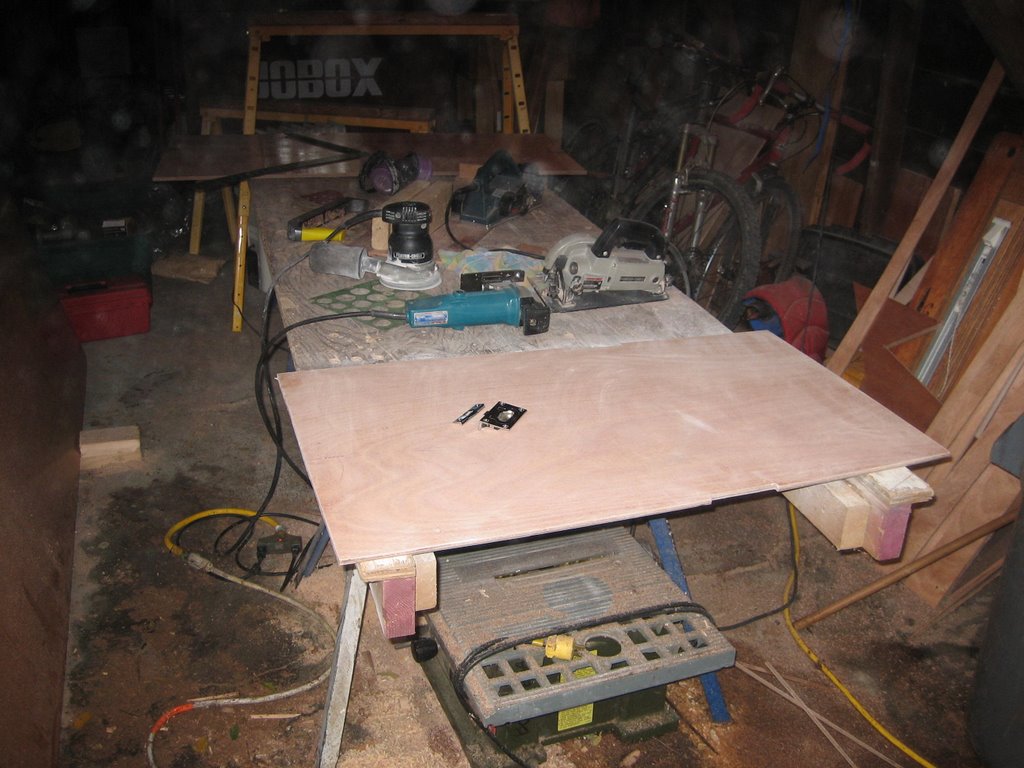
Though it has continued to rain, I got to work this morning as usual. I had to work around the rain which was particularity heavy this morning. So far 28 mm rain today. I am continuing to focus on the bunk boards. I can see that these will take awhile. Last week I epoxy coated both sides with 3 coats each of clear coat. Today I continued the process of shaping and fitting these. I cut them out, fitted them to length. As I had made them a little proud for the space they were to go in by a quarter of an inch so in all, I ended up cutting about half an inch off in length. After cutting them out and getting the length right, I planed the edges so they are a true curve and then beveled the underside, with a planner, to a 45 degree angle. I sanded the faces smooth with 120 grit paper on a random orbital sander and then laid out what I believe is how I want the hatches to be. Mostly I anticipate items in drybags to go under the bunks but I want a place for a small tool box that includes tools and spares and I need to determine exactly where the batteries will go. This raised all sorts of questions. What size tool box? What kind of batteries. Group 27 batteries are common marine batteries but are awkward to move at best so I am leaning towards the smaller batteries used in wheelchairs, golfcarts and to start smaller electric outboards. This may end up costing more but I want to conserve space and I don't want to have to be dragging large batteries in and out of the boat while on my stomach. What will the batteries be for? Mainly the navigation lights, an inverter and maybe a bilge pump though I don't plan on having limber holes between bulkheads so a hand pump will be more useful. For equipment such as the GPS, I'm planning on using NiCads that charge off of a solar panel.
Back to the bunk board work at hand. I plan on using a latching catch to lock the bunk boards down. Such latches, in marine grade go for as much as US$ 45 on line. I found them for $11.55 at my local hardware store, Hardwicks. It's a crazy place, they'll keep an old price until all the stock is sold then change the price when they order more if their cost goes up. They happened to have a box of latches that had been around for awhile so I scored. Wholesale today isn't even that low and yes I checked that these latches were intended for marine use - ABYC ok'd.
What I'm up against this week, other than figuring out where and how big I want the bunk hatches to be is installing bunk beams along the hull sides, cutting out the hatches, fitting hatch ledges and a retainer and doubling plate for the latch on the hatch.
posted by tsunamichaser at 5:31 PM
![]()
![]()


1 Comments:
here's someone elses take on the cockpit
Dances With Waves
Post a Comment
<< Home