If you are a dreamer, a doer, a horizon viewer - come in! come in! Announce yourself and let it be known.
The seed of adventure has been sown.

The goal is to take this boat on a trip that no other Wharram boat has taken.
From Great Slave Lake in Canada's Northwest Territories up the MacKenzie River to the Beafort Sea
and westward to the Bering Sea and south to the inside passage on the Alaska and British Columbia coast.

Tuesday, October 31, 2006


Today was an epoxy day! Other than continuing coating full sheets of plywood destined to be bunks two new techniques were used today, a) to build up fillets in difficult areas and b) to add biaxial glass to bulkhead to hull sides. My work from yesterday had not fully cured over night as the temperature hovered around freezing. Heating the shed would be pointless but as I was coating the bunk boards in the garage, I could add some heat there. To do the fillets I built up the area I wanted to fillet with modeling clay then poured a runny mix of epoxy and wood flour into these molds. Hopefully removing the modeling clay will not be too big a deal. I've read about doing this but this is my first shot at it. Glassing the bulkheads to hull sides was more exciting. I made up a pre-preg rig by using stiff plastic sheeting taped to a board and then using a rubber roller of the type used for installing linoleum flooring to roll the resin into the cloth. Once the cloth was saturated, I would peel it off the plastic sheet and then carefully install it over the joint smoothing it down with my fingers. This worked really well (see photos). Tomorrow I will coat the cloth with additional resin after I cut any roughness or loose fibers out.

Monday, October 30, 2006


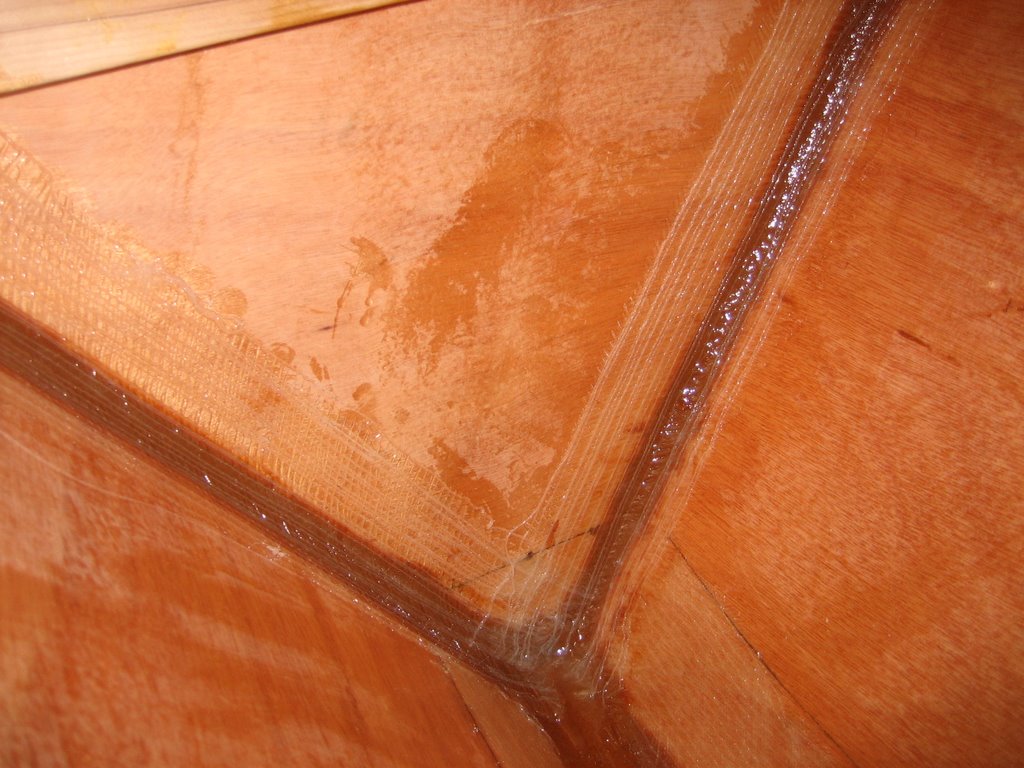
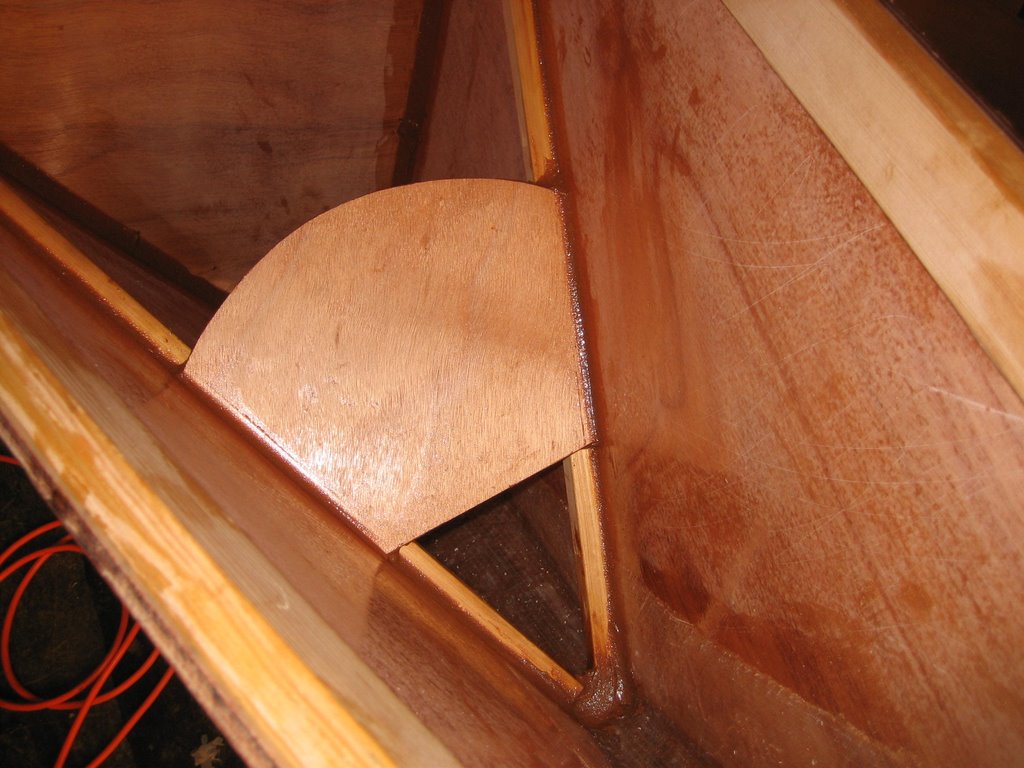
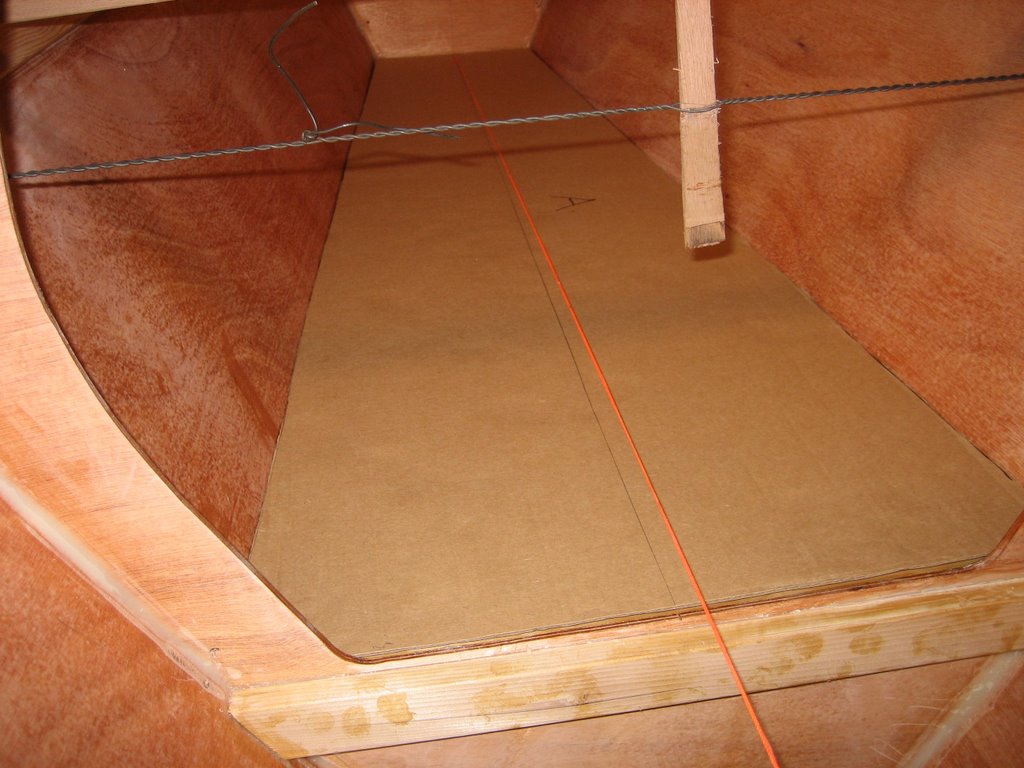
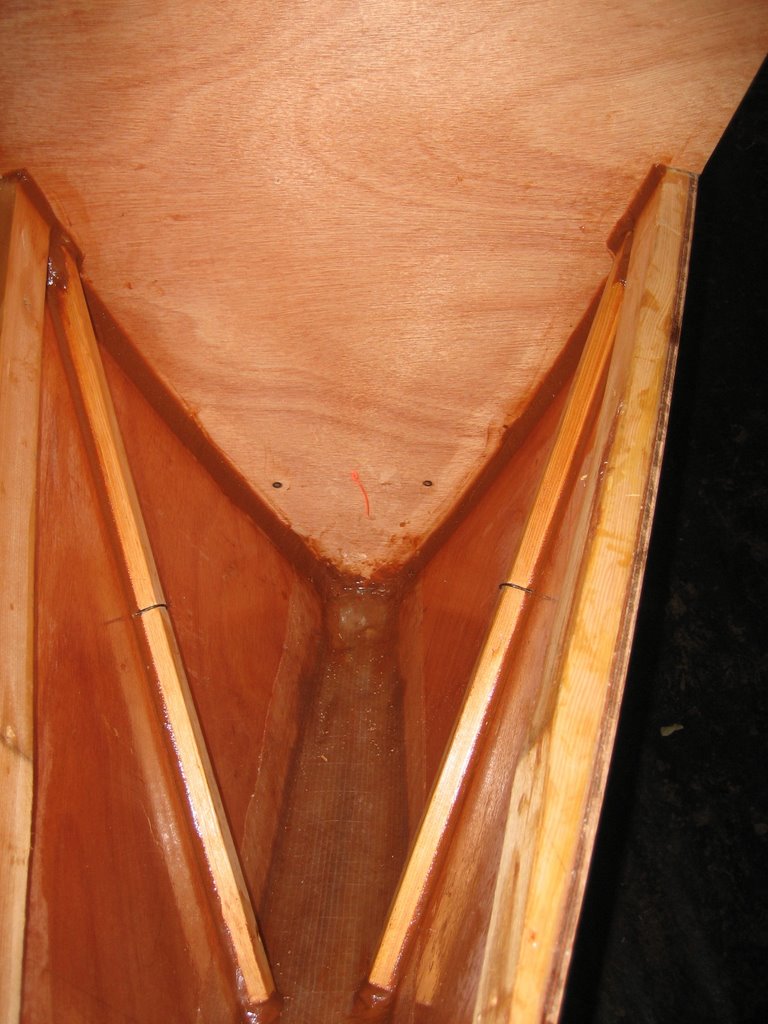
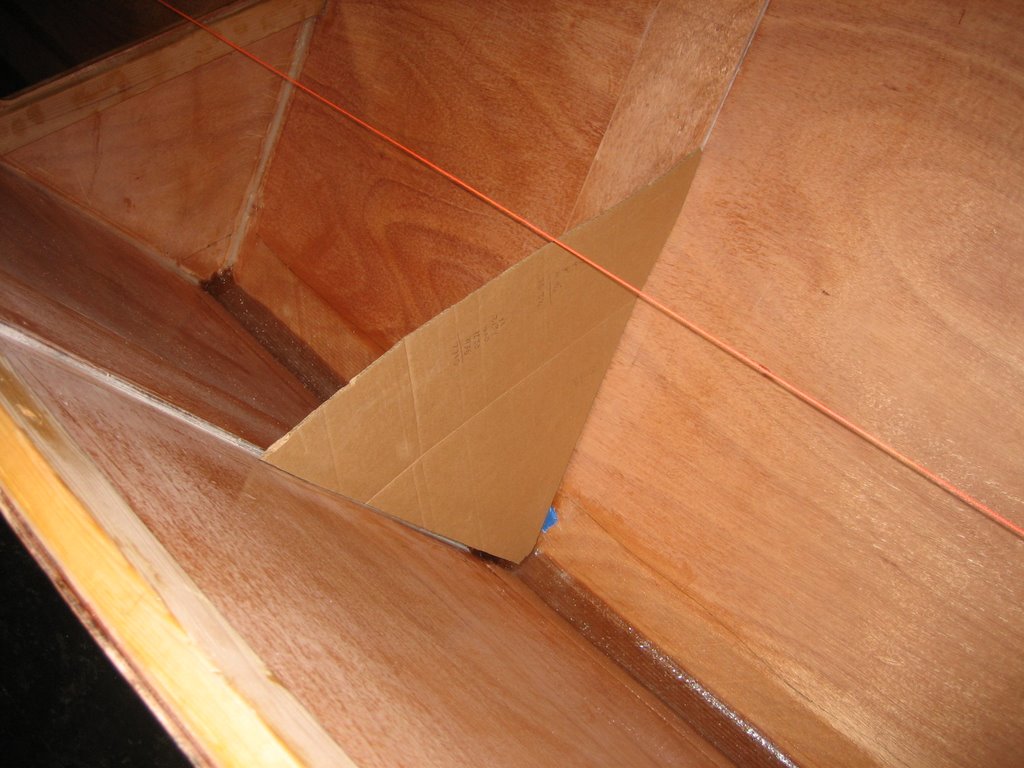
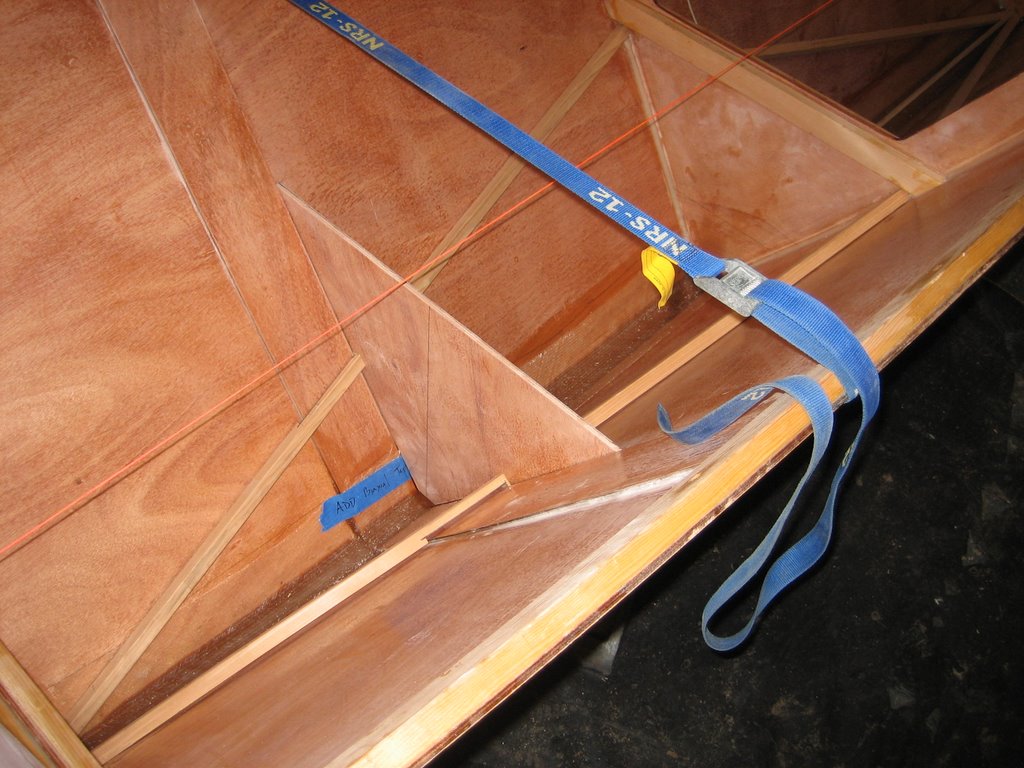
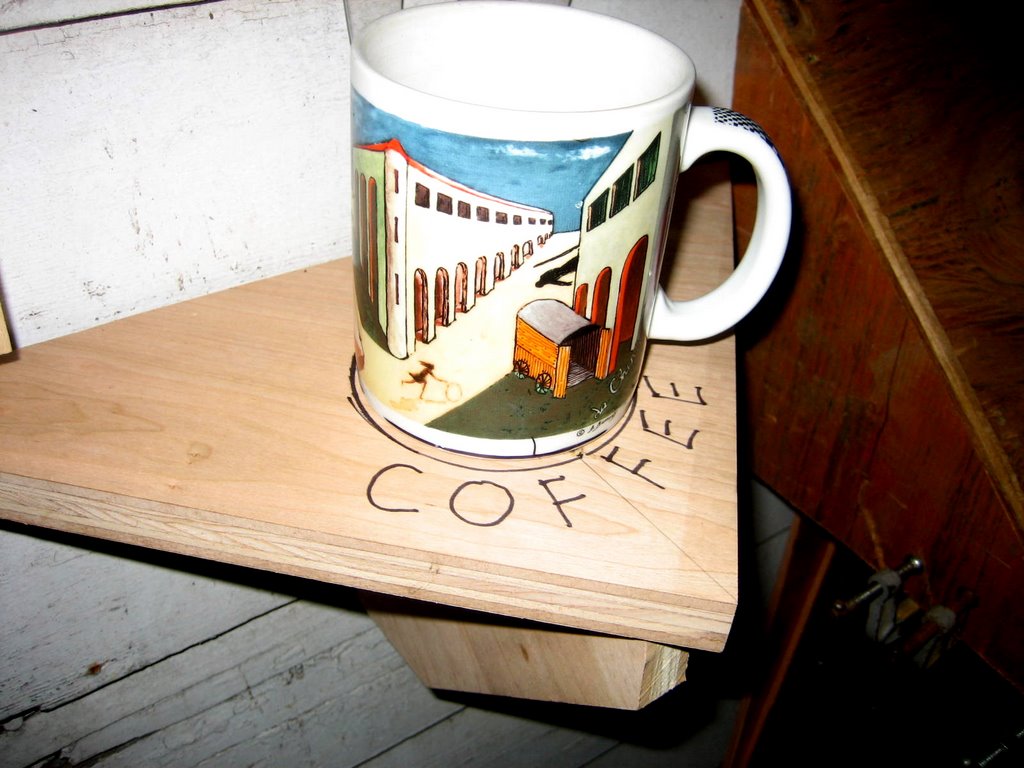
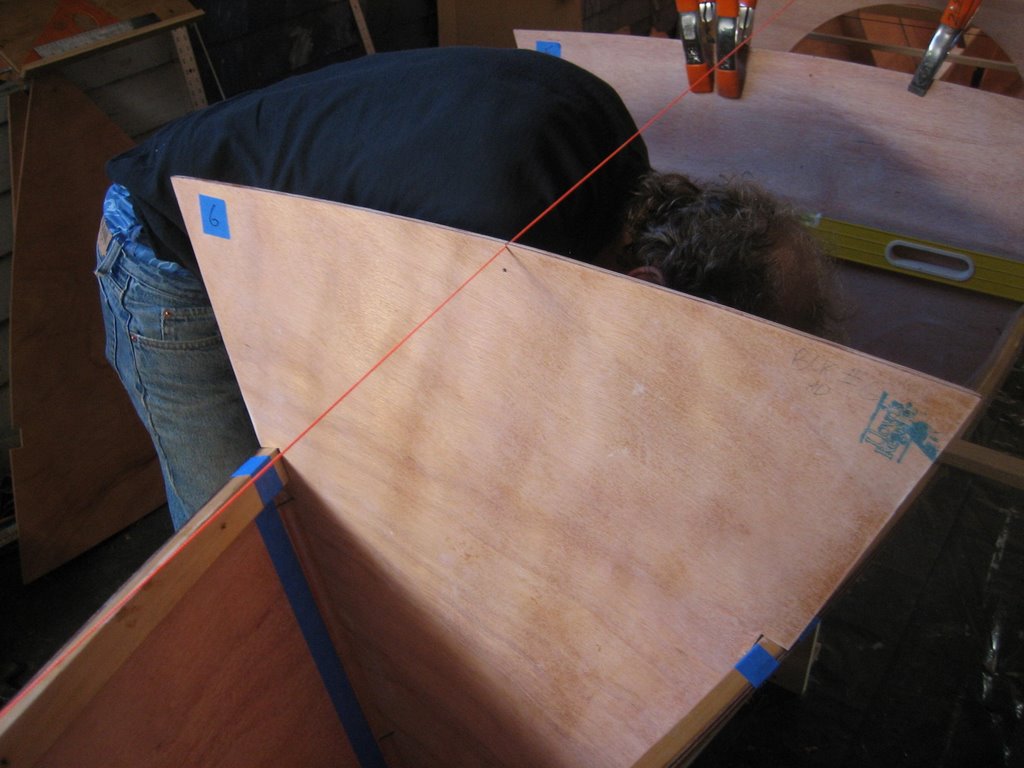
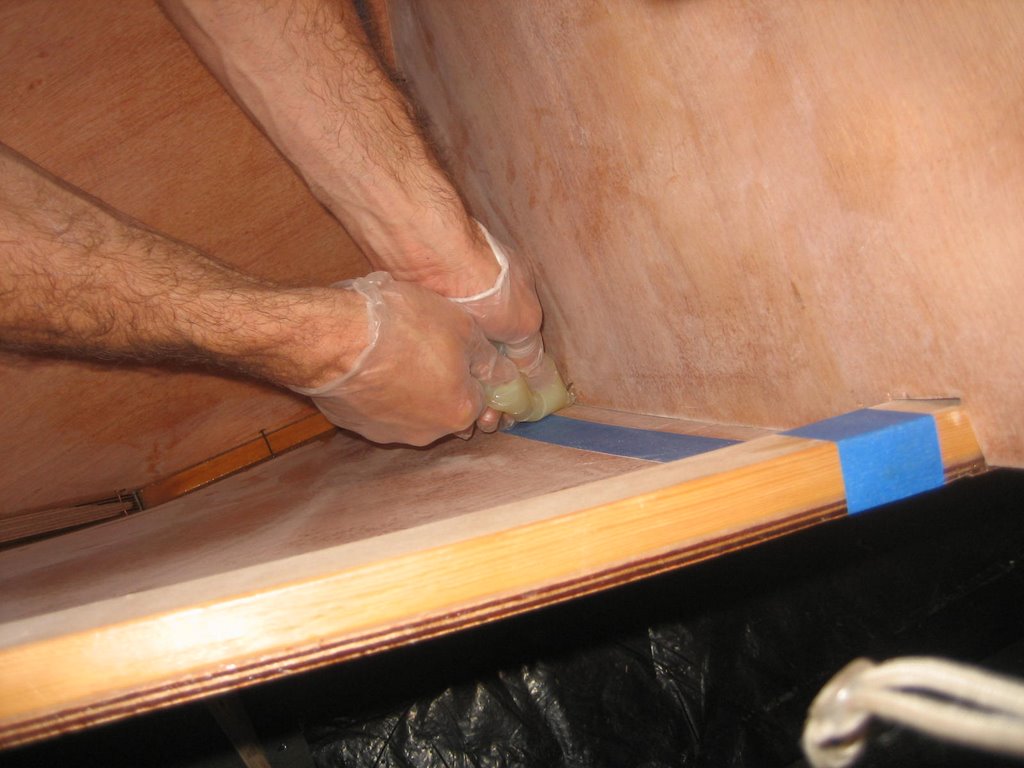
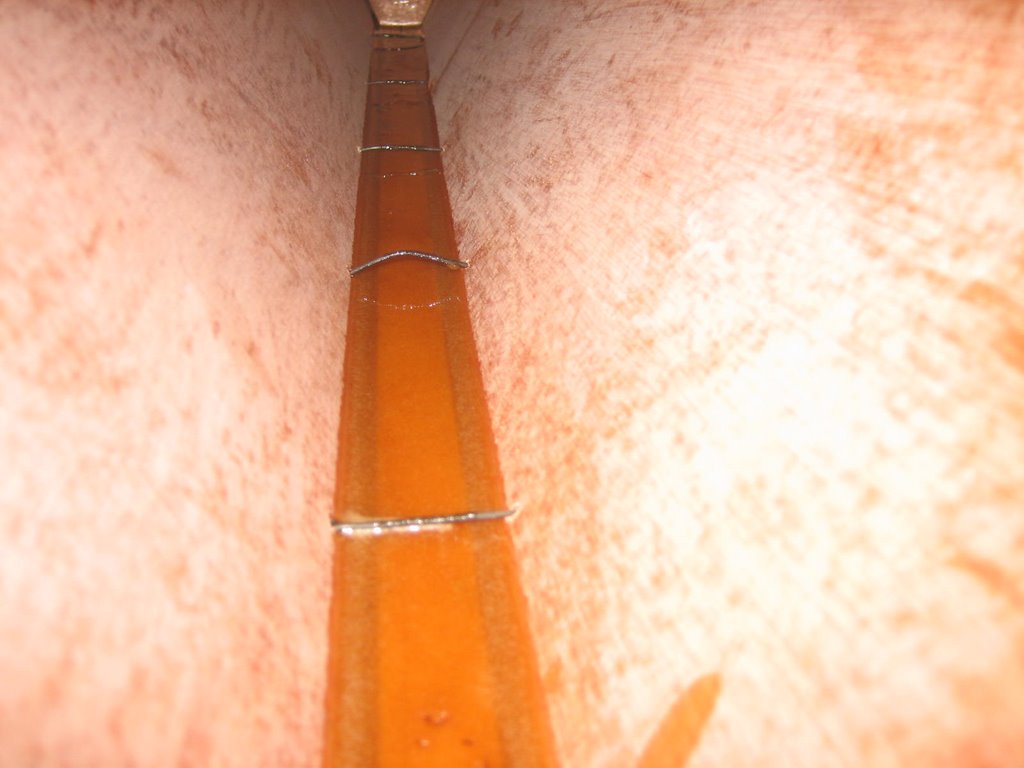
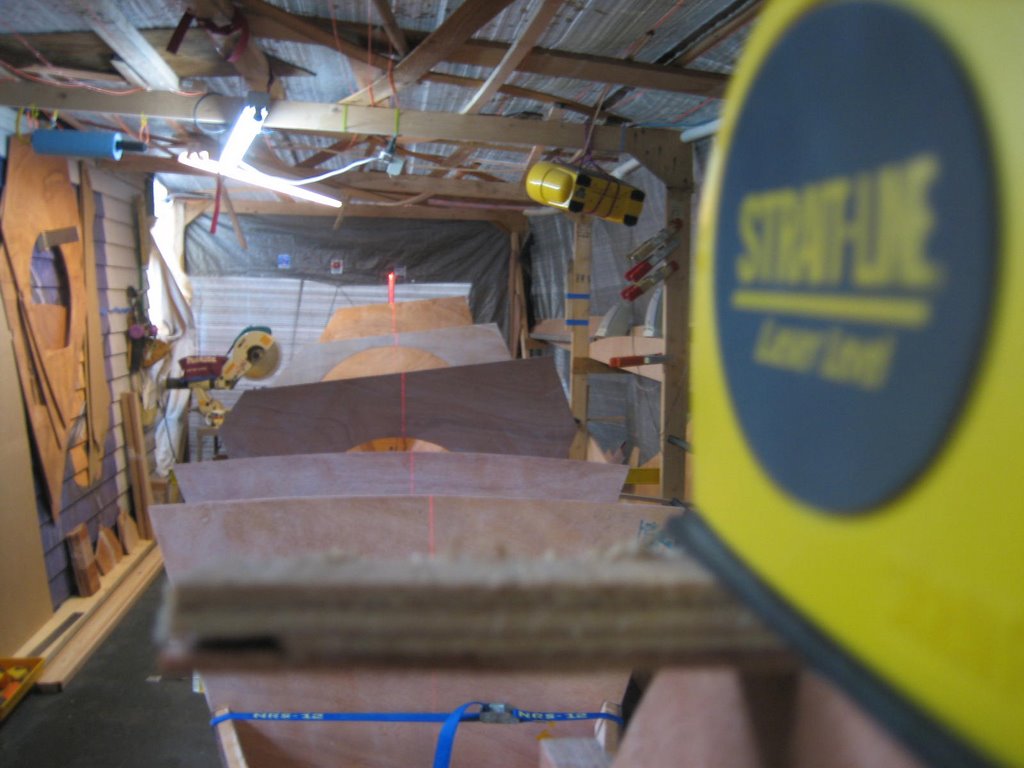
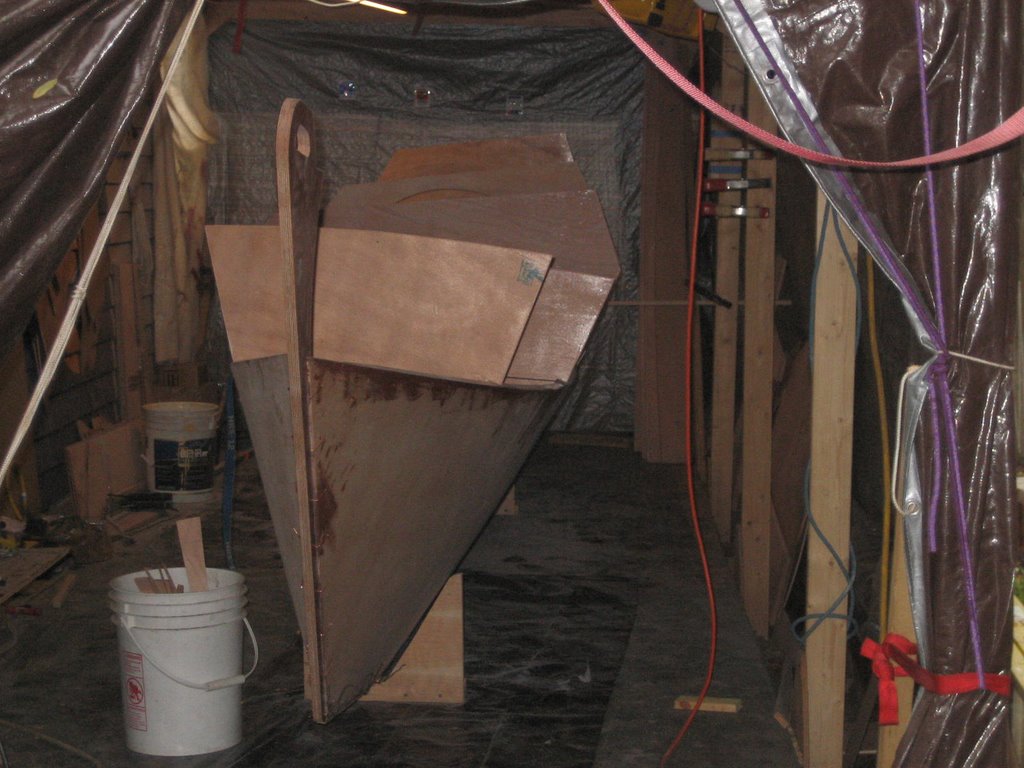
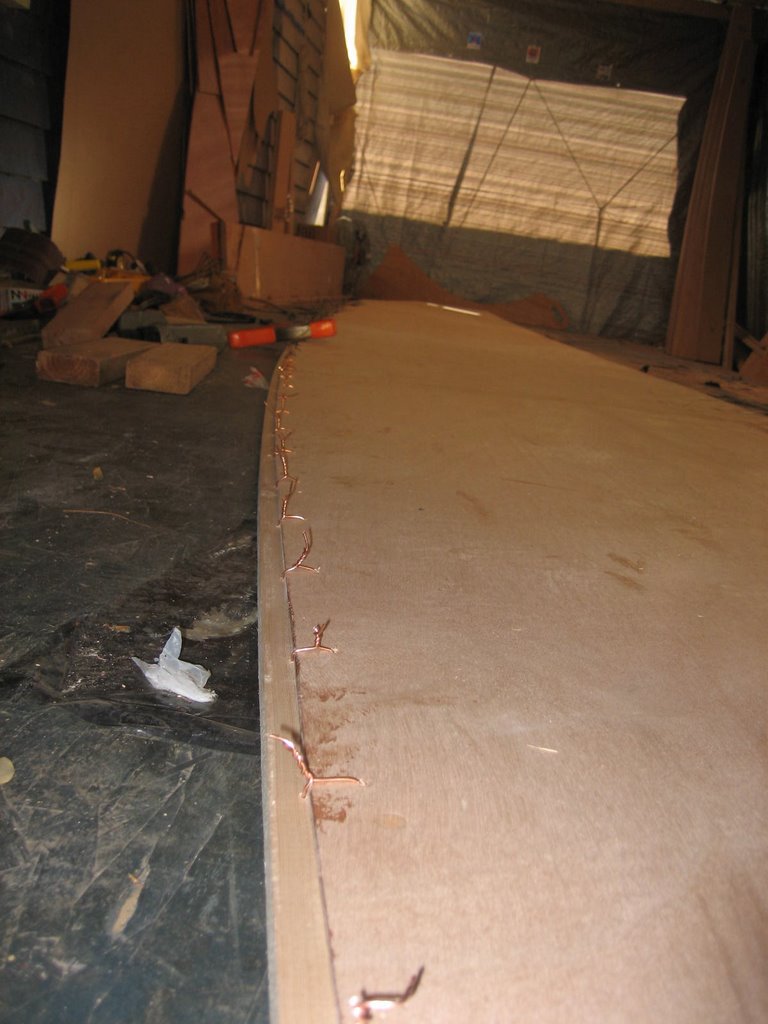
This isn't the first time I've posted a picture of my coffee cup. The last time I was celebrating my new dedicated coffee shelf and talked about the importance of creating the environment necessary to keep at it and with it to the end (Post October 14th). How many partly finished boats fill driveways, carports and backyards? Why did these dreams begin with such enthusiasm only to be abandoned? Building a boat is a big deal. Building a catamaran is even bigger. You will have two hulls to compare. The first one may perhaps not be as great or nice as the second one. Will you have to build a third? The size of boat you choose is a big factor. As length increase linearly, volume does so cubicly. Consider volume as the true gauge of construction cost and time. Who has months upon months if not years to build a boat. Who has the tools, the shop space the gantry crane, if the boat is really big, to complete such an undertaking not to mention the money. I think the Tiki 26 or perhaps a Pahi 31 should be the biggest project you set out on in your backyard and as your first Wharram stitch and glue tortured plywood construction. If I ever take on a bigger one, I'll hire help and build in a proper work building with some kind of overhead lift. I'm still not sure how I will maneuver the first tiki 26 hull out of my shed once it is complete - all 430 pounds of it. If you have never built a boat this way and if you were looking for my advice and you wanted to tackle a big one, I'd give the following "consider the first step in your adventure to be the building of a Hitia 14 or 17. What you will learn will be invaluable and you will have something to sail while you are building the real boat so you can refresh your motivation and regain focus. It will be cheaper than the partly finished hull in your driveway that keeps nagging at you." But wasn't I talking about coffee cups!

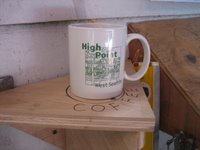
Before I started building my Tiki 26, I took the summer off to decompress. I find myself very lucky in that I successfully escaped from an extremely stressful job. The coffee cup is a remnant of the $120 million project, High Point in West Seattle, I was in charge of building. When I discovered that I no longer had a life, I knew it was time to leave. The message was clear - No time to sail is no life! But how? Though I escaped, I didn't do it in one step as I got sucked into another "dream project" and managed to get that project underway before I woke up and realized I was going down the rabbit hole again and needed to pass the project on. Circumstances and the right opportunity let me slip out the door before I was sucked in deep. But somehow I wasn't getting the message as early as I should have. Everytime I would go for an annual checkup, my doctor would remind me that construction project management of the multimillion dollar projects that I get hired to run is not the best for your health. What did it was when I found myself yelling at a woman who was letting my daughter walk her dog (the dog was walking my daughter out on to the road from a school playground). This made me realize that it was time to step back. The issue was real but my response was over the top. I made a plan, figured out how to set aside enough to live on and said to myself, at this point in time what do you really want to do? The answer didn't come easy. At first it was do nothing, then do everything. Then it narrowed to two boat plans and one non-boat thing. As I decompressed over the summer my head cleared and by the middle of July I was focused on the two boat things. I took the further step of buying plans for the Tiki 26 (Plan A) while I still looked for a boat to buy and refit for a round the world sail (Plan B). By late August, I was studying the Tiki plans intently and figuring out costs and schedule.

So now I am here. In a sense, I am doing what I was doing before but now I love it whereas before I didn't. Building versus building. And why do I hear from so many who when they see what I am doing share with me their work traumas and dislikes. Why do we do things we don't like or don't want to do? Why don't we follow our dreams? The easy answer is that we need to earn money to live on or support our families with but these are poor answers in the end as we may be alive but we are not living. To be alive, truly alive we must throw fear out, stop doing what we think is right and set course steering by our dreams not our dreads!


Today, I was up to my elbow in epoxy despite the significantly colder temperatures. I follow the weather fairly closely. I guess it's the sailor in me, so I knew that freezing temperatures were expected. In anticipation of this I moved all my epoxy indoors to keep it warm. First thing this morning I set up my heating pad warming system and them moved the epoxy out to the shed. This worked great as I was able to work all day making fillets, gluing the bow cross brace in and coating the two sheets 9 mm plywood which will eventually become the bunk boards. When I made the cardboard templates for the bunk boards I couldn't resist dragging a camp sleeping pad and bag out to see how they fit. Even with the bulkheads, it looks like it will be ideal. I can't wait to spend a night in a hull!
Up above I mentioned sailor. It is funny how quickly you get absorbed in the building process and before you know it your focus is boat builder not sailor. I like building things, it is satisfying when it goes well. It is a great feeling to be creative and technically adept. Building is what I do for work too but somehow it is not satisfying. Construction project management is what I do when I "work for the man!" This is fine but I'd rather be doing. The managing becomes stressful after awhile mostly because the project I end up managing are the huge impossible ones. Partly, I think I am building this to satisfy the need to build with my own hands not through endless meetings and email though I recognize the necessity of these managerial tools. Mostly I am building a Tiki 26 because I want to be able to do a new kind of sailing - on and off a beach in a simpler manner with less stuff. Most of us will upsize upsize upsize but I think that is a mistake. Two summers ago I circumnavigated Vancouver Island in my 13 foot Achilles RIB. What an amazing trip! I camped of amazing beaches and got to go to all the places I could never get to in my Westsail 28. The few people I met couldn't believe I was in my dinghy. But what could be better than rolling comfortably with the sea. I am not a powerboater but as sailors often do, I appreciate a small fast RIB, Of course I appreciate sailing such as the now underway Route de Rhum, Saint-Malo to Guadeloupe http://www.routedurhum-labanquepostale.com/en/s01_home/s01p01_home.php All classes of boats in this race are pushing the envelope! Keeping up with what is happening both in racing and cruising keeps me motivated with my building, I want to be out on the water.

Sunday, October 29, 2006


One part of Wharram's designs that seem to get a fair amount of owner attention is the cabin hatch. There are numerous design variations posted on the web. I am playing around with some alternatives I'd like to explore. I;d like to incorporate a Plexiglas bubble so that you can take a look around without having to open the hatch. The onslaught of wetter colder weather may be bringing on these ideas.

I have been playing around with ideas for a name graphic for my Tiki 26 - tsunamichaser

Saturday, October 28, 2006


It was inevitable, I ended up getting sucked in by the boat today. I thought I could just clean the shed. I ended up making a cardboard template for the aftermost bunk and then filleted the stern side of bulkhead 1 and installed the diagonals in this bay too. Not that I neglected cutting the grass - still green and growing, and cleaning the deck.

I have now done 25 days worth of work in the shed. That doesn't mean 25dx8hrs. It means I've stepped into the shed on 25 separate days and worked anywhere from 1 to 9 hours. It probably averages out to 5 hours per day so I've got 125hrs into the first hull. All is well, I still like the design and I try patiently, as I know I have a long way to go, to await the first sail.


I cleaned up the shed this morning and opened the one end up totally. I like this perspective. I dream that this is what it will look like after a dive off the forward trampoline into the water and then surfacing and turning around in front of the boat to look back.

Friday, October 27, 2006


I had a couple of insights today. 1. Tiki 26's do not have much storage room so what you have needs to be maximized. The bay between bulkheads 3 and 4 is the sitting area where there is a foot well and the area serves as a wet gear "locker" too. I feel this wastes space under the seating area as I don't need all that space. Anything else that is wet and that can't be dried immediately goes in a dry bag. If it isn't warm out, I use my ski/mountaineering gear - Goretex pants and shell. If it looks like it will be wet, I get into a kayak/dinghy sailing style drysuit. I sail bare foot unless it is really cold then I get into neoprene socks and boots. This works well. On my head I wear a tight fitting neoprene hood when it's really snotty. My first real design change is to add a partial bulkhead - cardboard template and final bulkhead pictured. This way I can have a separate gear locker and still have the wet well. My plan is to also install a small fresh water tank of up to 10 liters in the available area under the floor. 2. My second epiphany of the day is about the cockpit. I have been watching youtube videos of Volvo multihull cup races. All these boats have extensive areas of trampoline between the hulls. This prevents bridge deck slamming. Instead the waves just pass right through the mesh both ways. It seems that the cockpit plywood floor should be replaced by mesh. Afterall in heavier weather the water comes from every direction anyway so why not have a mesh floor at the cockpit

Today was not a big production day. It was a day of new ideas. More on that later. I want to talk a little about working with epoxy. After many batches yesterday, I wanted a day of not working with epoxy. I read the MSDS sheet this morning just to make sure I was doing everything I should be. I am. Known longterm issues with these chemical is a sensitizes of the skin so that you get a rash just by being in the presence of this of epoxy. Here is my sequence for safely working with this stuff. I have a set of clothes and shoes I use for this work. I wash these every couple of days. I often work with gloves on if I used epoxy the day before and it may not have cured. When working with epoxy I first apply barrier cream to my hands and forearms and then rub it on my face and ears (anywhere I might get an itch while working. I then but on nitrile or vinyl gloves which I change frequently while I work. I always where a respirator when sanding or grinding. I use two types, particulate and vapor type filters. Immediately after I finish work I wash my hands and face and shower at the end of work. If I do get an itch while working I use a clean stir stick or a paper towel to clear the itch. If I get resin on my skin I wipe it off then wash up and start over again in my protective practice. Like I said earlier, I'm in this for the long haul, I don't want to not be able to use these materials. It's worked for me, I've built three previous boats using epoxy and I can still work with it. Lastly, I never use any solvents. Organic solvents have no place in this process. If you use them on your skin they will simply transport the substance you are trying to clean up into your body; besides who wants to breathe in the vapors.

As you may have read in earlier posts, I have been trying to understand the function of the diagonals as pictured in the attached photo. Until Jim pointed out that the diagonals actually form the sides of tetrahedra, I wasn't seeing them and much of a structural element. I got it after Jim's comments. I've been thinking about the two sets of diagonals between bulkheads 2,3 and 4 (pictured). I have decided to switch their direction so they sit under the bunk bearer on bulkhead 3 and drop down to the bottom on bulkheads 2 and 4. From the load tracing diagram I did, the way they are called out, they don't seem to help under forces exerted downwards by a wave crashing down at the bow or stern or both nor if the center of the boat was to be in a trough while the ends were suspended on crests. If you turn them around like I am then the forces are resolved.

.....Any comments as to why this might not be wise appreciated?


I've been struggling with how to get a good glue fillet at the temporary wire locations between the hull sides and bulkheads. You can come back once the glue is almost cured and remove the glop of glue that inevitably sits behind the wire. Trying to do a finish fillet over such irregularities is not easy if you want a smooth finish. Sanding isn't the best option for removing a large amount of resin nor is a chisel. Luckily, there is a great tool and hardware store where I live, Hardwicks. They have everything. I searched there shelves and came up with the pictured die grinder bit. As I own a die grinder, This looked like the perfect tool to smooth out rough spots. It did the trick. I was able to grind out the worst spots in preparation of doing the bulkhead fillets in about 20 minutes. The photos are a before-during-after sequence.

Thursday, October 26, 2006


Update: Blogger is now posting 6 am PST! It would be cool if blogger gave you realtime stats on how many people are logged in at any one time like Skype does. The photos I've uploaded are of the finished glass in the bow section. Note small air bubbles near bulkhead. This area had some slight roughness to the fillet.

Blogger won't post pictures (10pm PST) at the moment so I'll upload today's images later or tomorrow. If yesterday was a day for experimenting today was a day for production. I filleted the stern section first thing this morning then moved on to glassing the remaining bays with 12 oz biaxial tape. In the afternoon I installed diagonals in the front two bays and then as the stern bay fillet had cured to tacky, I glassed it. Once I install the remaining diagonals, I'll be installing the bulkhead fillets. Wharram does not indicate that these get glass tape but I plan on finishing them with 6 oz biaxial tape, probably in a 3" wide strip. The reason is that my experience is that this can be a weak joint when just filleted. Today before I glasses the keel seam I went over the area where the tape was to be placed with a furniture scraper. This worked very well. I took off some high spots where I had spilled resin and hadn't wiped it off. This runs or high spots interfere with the cloth laying down perfectly without separation, trapped air or excessive resin between the cloth and plywood.

The temperature is starting to drop here. It is hovering in the low 50F/10c. My trick to keep the laminating epoxy flowing is to set the jugs tight together with a heating pad tucked in between them and a towel over top. This keeps the epoxy flowing. So far the cooler temperatures don't seem to be effecting the other epoxy products that I am using. As they are pretty thick to begin with, I don't worry about if they flow or not.

Wednesday, October 25, 2006

Today was a day for experimenting with biaxial cloth. I did the keel in two bays upfront. In the first one I placed the cloth and then applied the resin on top of it. In the second one I placed the cloth marked its location, removed it, pre-coated the surface then placed the cloth on top. I used a brush to spread the resin then a squeegee to push it around before I vacuum bagged. I did this in both areas. The pre-coated version worked better, no air bubbles. In the one I didn't pre-coat I got some tiny air bubbles generally evenly distributed. I'll post photos tomorrow as I'm off to play soccer/football yes at 10 pm PDT!


I did the first glass this morning. Photo sequence shows fillet, dry glass cut to length, hull section being vacuum bagged (indirect to remove any posible air bubbles beneath glass), final but yet to cure product.
I reformatted the blogs layout slightly. Hopefully it will load better for PC users. I post using a PowerBook G4.

Tuesday, October 24, 2006


Today I broke open the pails of SystemThree EZ-fillet. This stuff is way better than mixing your own. Each batch is the same! I worked through late morning until about an hour ago (I let them cure for about 3-5 hours before tooling them to their final smoothness using my ball technique) doing all the keel fillets except the one at the stern. After cutting all the wires in the keel and removing them (I'm using rebar tie wire. It's strong easy to work with, cheap and because it has a thin oil coating comes out just fine as long as it is relatively straight.) I started working on fillets in each bay. After scuffing up the keel epoxy and vacuuming out the debris, I poured/scraped the EZ-fillet into the trough between the hull sides. This would be a good job for someone with drywall or plastering experience. I made a series of plastic scrapers and proceeded to spread the fillet pretending it was a glacier flowing down a valley. Once the surface was clean, I scraped the excess on the side off and wiped up spills with a rag. I then let them sit until they were tacky. I places a sheet of plastic film over the fillet and then rolled the appropriate size ball back and forth until the fillet was very smooth with no bumps or ridges. This worked great except right up against the bulkheads.


This series of photos shows how I resolved my issue with the diagonals, after Jim's helpful comment and my new understanding. I made a triangular piece of wood that fits on top of the keel-stem that sits immediately on top of these piece and goes from Bulkhead #6 to the land point of the diagonals. This piece has been epoxied in and filleted today. I will first glass over it with 12 oz biaxial e-glass and then fit the diagonals.

The amazing thing about the tetrahedron issue is why I couldn't see it. A couple of months ago I had been considering moving to one of the Gulf Islands, for the building of this boat, and living in what is called a Yome. I had looked into yurts but the smell of the covering fabric drove me nuts!

Red Sky Shelters make a structure that uses silicone impregnated canvas. The samples where easy on my nose but in the end I couldn't coordinate the move. It would have been good. I had a great building cover lined up with a view of a saltwater inlet and the occasional bald eagle flying by.

I'm in this for the long haul right? I haven't had a proper place to set down my cup in the shed until today. I've been too busy building to perfect these details but they are important. I walk around with my cup, balance it precariously or worst of all set it on the sticky ex-typist's typewriter stand - newly epoxy dispensing stand and contaminate the bottom of the cup. So first thing this morning, after putting my coffee down on the epoxy stand, I built this little coffee shelf. The plywood I used was from the freebees container at a cabinetmakers. Boatbuilders beware! Don't ever use this type of plywood in your boat. It has a beautiful face veneer, cherry and maple for the samples I got, but just underneath the veneer was a layer of particle board. I'm sure it makes for a beautiful smooth faced cabinet in a dry house but get this stuff wet and you'll have a heavy soggy delaminating mess on your hands.

The point of this post is that you will build a better boat if you set yourself up. That doesn't mean you need to build a 20,000 square foot shop with all the tools you can't afford but it does mean think ahead about what you are doing, visualize it, assemble everything so you can work with purpose not frustration. It can be as simple as putting your cordless drill in a plastic bag, when working with epoxy and screws, so you don't contaminate the drill with resin or taking the time to make a box for the tools you need so they are right at hand.

Monday, October 23, 2006

Sometimes all it takes is a different perspective or experience. I should have checked my email earlier too! My posting about the diagonal bracing from yesterday produced a comment that turned on the light bulb in my head. Here I was forgetting the basics of geometry and trying to come up with a clever reason, besides I was biased because the diagonals "don't look nice". The comment Jim left was exactly what I needed; along with a visit to wikipedia to refresh my knowledge of tetrahedra, now I don't think I need to lay awake all night long ideas floating in and out of my head. I even have an idea on how to beef up the stem as Jim suggests, the answer is in the stern of the boat, interior to the rudder skeg. Thanks Jim!


I found myself with no resolution to my "diagonal bracing issue" this morning. After standing looking at the boat for twenty minutes or so, holding this stick of wood then a different one, after which I switched to plywood strips, I was no further along in my decision. I cut out the wires in the bow and then retreated to the kitchen for a pot of coffee and the hope of a message explaining the diagonal bracing. I keep thinking back to the short story on Wharram's website "Stick to the plans"! I need to stick to the plans. KISS - keep it simple stupid -you know very little about hull design and even less about cats. ...but, but, but what's the big deal, these diagonals are nothing big - they are called out as 18x25 mm in softwood. What can they be all about? So I think some more and resolve to not loose sleep over this issue tonight - no waking up a 0430.

The morning is draining away and I need to get something done so I resolve to return to the shed and do some work, make progress. What can I do? I can glue the rest of the joints; stern to hull panels, bulkheads to hull panels and bunk and deck beams to bulkheads. I work for the next five hours gluing, after ensuring everything is square, going slowly to ensure clean complete joints with no dry spots. I take care fairing the joints (see the photo of the stern to hull sides) without and mess. I let the joints partially set up and then come back to clean up any glops of Gelmagic epoxy. But a whole day of work has done nothing to put the diagonal bracing issue to rest. I'm thinking about how to get a nice second layer epoxy fair done with a curved scraper in a variable angle and width joint, not to mention curved when the idea of using a soft rubber ball comes to me. See the photo of a racketball ball in the bow to get the idea. This may just be the trick. I'll try it tomorrow, I think, when the realization hits me once again. You can't fair the hull until the diagonal braces are done. Now it is 2300 hours, Monday night, and I'm searching diagonal bracing hull design. I come up with some promising sources - the USS Constitution had diagonal bracing for hogging and sagging. I get links to catamaran building forums but never find the diagonal bracing threads. It's starting to look like I'll be lying awake trying to resolve the force vectors not only about this but a new issue; mast and rigging forces on the main beam.

Today has been a good day of building - thinking ahead, focused on the work at hand buoyed by very good news, a letter from Jeckells. Sails are on order, delivery date 01-Feb-07. I'll mail the signed order confirmation back to Jeckells tomorrow.

Sunday, October 22, 2006


Current things I am waking up at 5 and thinking about.

1. Should I install the forestay U-bolts now or after the hull is finished. Stainless steel doesn't like to be oxygen starved as molecular level corrosion can occur which suggests installing them after completion of the hull. If I drill the holes later will I be able to seal the holes so water doesn't get at the wood and cause rot. My solution - I'm thinking of installing oversized U bolts now and epoxying them in.

2. What is the true engineering purpose of the diagonal brace Wharram uses. Do they prevent panting of the hullsides (flexing in and out) or do they prevent longitudinal flexing of the hull. If it is for flexing the ones in the middle seem to go the wrong way. (sorry about the photo quality) I've never seen bracing like this in a boat. Typically transverse frames or/and longitudinal stringers are used. Wharram doesn't use these diagonals in his Pahis but does use longitudinal stringers. What to do! What to do! What to do! ..........


Here is a cheap, clean and very professional way to make glue fillets. You will be working in a bent over awkward position so the more control you have of the epoxy the better your work will be. Remember the cleaner your joints are, the less clean up, sanding and "fixing" you need to do. The next layer of fillet will go down better too. To glue joints, such as the bulkhead to hullsides, you need to get the glue fully into the seam. This is critical. You want no dry joints as they are a weak point. This will be virtually impossible with a tongue depressor stick or a plastic knife. Many epoxy manufacturers will sell you plastic syringes for this purpose. These are fine for small gluing tasks but they get expensive! Instead try a plastic bag, any kind will work though I use 'ziplocks'. The gluing epoxy I am using is from System Three. I'm using Gelmagic, which when mixed has the consistency of vaseline. It is hard to spread cleanly but it's great as it has no sag. After mixing up the appropriate size batch, transfer it to the bag and when you are ready clip a corner of the bag with wire cutters. They do a cleaner job than scissors. Now you can squeeze the glue out the hole like you are icing a cake. Unlike a syringe, you have better control over the size of the fillet as you can clip the corner to a size that matches the fillet you want. If you pre-tape the joint (I did one side only but two sides would be better and will tape both sides in the future) you can fair the joint, as necessary after having spread all the glue without worrying about the glue that flows beyond fairing tool.

Saturday, October 21, 2006

- my new mantra. Fix it or you will live with it forever and wonder; will it hold? It is easy to take the easy path while in the shed but when you are barely hanging on as the boat below you pitches about on troubled water, you need it to be right.
I awoke with a start this morning - still dark out but my mind had been at work on the boat for awhile. I was building the wrong hull and it was only 5 am. How could this be I tried to resolve. Still in bed I tried to picture the boat and that my mind was wrong. No I needed to get up and go confirm that my mind was right and my hope was wrong. Time to pull on my jeans and find my headlamp. As soon as I stepped into the shed my fears were confirmed .

Now it's not that I had an epiphany and discovered I was building the wrong boat, it was that I was building the starboard hull when I should be building the port hull. At this point the difference is with bulkheads # 2,3, and 4, they are the only non-symetrical parts, laterally. In fixing yesterdays alignment problem I had turned them around. The issue is that my yard, behind the cottage I live in, is just big enough to hold a Tiki 26 (with a tree inside the starboard bow) so to be able to assemble it before I haul it out of the yard I need to build it the way it will sit. I was building so the outsides of the hull would be against each other. At first I thought I would just continue, afterall everything had been trued up, the bulkheads were perfectly wired in and the keel was epoxied. I justified that I could lay the starboard hull on its side and lift the port hull over top of it. Ya right! - lift all 450 lbs of the port hull over the starboard hull which would need to be lying on its side. I went back inside to make tea; afterall it was too early to be down in the dumps over this problem, I needed to solve it. I studied the plans while the kettle boiled. Tea in hand I went back out to the shed, turned on the lights and was so glad that I hadn't glued anything other than the keel and that the epoxy wasn't up to the bottom of the bulkheads. I resolved to try to remove the toughest bulkhead, # 3 first. If that worked then maybe I could remove the other two with equal luck. I found the wire cutters and cut the six wires holding the bulkhead in place and wrenched it out from between the hull sides. Once it was out, it didn't feel like I was going backwards but going the right way. I turned it around, pushed it back in between the hull sides until it snapped down so the bulkhead notches took the stringers and wired it back in. Three hours later all three bulkheads were turned around, wired in and the hull was trued up again. I'd done the right thing. Like in mountaineering there is a time to retreat to try another day instead of slogging on into the void.

Friday, October 20, 2006


I have reached a milestone. The keel was glued in place with a runny mix of epoxy and wood flour today. The runny mix will ensure that there will not be any voids or air gaps at the keel. I mixed a large batch of epoxy and poured it into a ziplock bag. Once the bag was closed I cut a corner off the bag and squeezed the epoxy mix out carefully as if I was icing a cake. It worked great.

I think I lay thinking about bulkhead #3 half the night. By 5 am it was getting really bad, so I got up! I looked at the drawings again and then it struck me, I was using 1x2's as stringers which are 3/4" x 1 1/2" true not the 1 3/4" that Wharram has on the drawings. The ruler lying on the bulkhead shows the 1/4" difference. I went out to the shed and discovered that the problem was too fold; one the bulkhead was not sitting plumb but had wave in it and two the notch on bulkhead 3 was 1/4" too low. Suddenly the 1 inch problem was fixed by removing the wave in the bulkhead (from compression forces pulling the sides together and in line) and recutting the notch so the bulkhead could sit higher. PROBLEM FIXED! Now I could move ahead to finishing wiring the bulkheads in and cutting bunk bearers and cabin top bearers.

Thursday, October 19, 2006


I have a problem - maybe! Bulkheads 2, 3 and 4 form the cabin top (see photo). The cabin top is made of 9 mm plywood. Here's the issue. The tops of the three bulkheads do not line up in a straight line. The tops of the bunk level does. I've checked all the dimensions, they are right. I've looked at Wharram's diagrams and pictures and pictures on the web and don't see a downwards curve to the cabin top. Do any of you who have built the 26 have any input?
I have added a translator in the sidebar as I am getting hits on the site from around the world, eighteen countries from every continent last count. Let me know if there are any additional languages you would like to have added. If I can, I'll add them.

I am truing up the hull in x,y and z axes. I'm using a laser (double click on the image to see the laser beam trace on each bulkhead better), plumb lines and levels. Setting all this up was time consuming this morning. I got it very close to perfect; level side to side and only out of true longitudinally by about 2 mm. I set sting lines at the bunk level on the center line and from stem to stern. First I used the laser to adjust these then I placed the lines. My final check was along the keel using the laser. Now I am wiring the bulkheads to the sides and cutting bunk and deck stringers as I go. This is slow work but I guess that is ok as this is a pretty critical step. You can always rewire something but once it is all glued together that's it. You have to live with what ever bumps and curves you didn't take care of earlier.

Wednesday, October 18, 2006


It appears that I may have the makings of a hull. After a hectic morning or re-wiring the keel so that it sits square to the sides, figuring out how to flip the thing in one go with no help and then press bulkheads into it, I think I'll clean up the shop, admire where I've gotten to and sit for awhile to think out my next moves. I need some more 1x2 stringers too so I'll venture off to the lumber store.

I ordered sails from Jeckells Sails this morning. I've been in email contact with them for awhile. They have worked with Wharram for years and helped develop the short gaffed sail that has become so popular on the Tikis and the Pahis too. Very easy to work with. There's a link to their website in the sidebar.

Tuesday, October 17, 2006


Today was good. It feels like I have the beginnings of a boat. I have spent fifteen days lofting, making parts, sawing, epoxying, sanding and on and on. Finally today I got to wire panels together and set up the hull first rightside up and then upside down. I placed bulkheads, stood back and admired the boat when realized I didn't know if I had all the bulkheads in right so that I would have an inside and an outside. I can image that there have been builders who made such a mistake. Two hulls the same, bulkheads mixed up. The pitfalls are endless! I decided this hull would be the port side such that I could have both hulls in the backyard and assemble the boat completely prior to removing for launch. This was when I noticed that the keel was twisted out out true. It makes sense that the keel would do this as it is almost square; as you bend it it wants to sit on edge. I will need to remove all of the wires (keel only leaving them through the sides) so that I can try to readjust. Luckily I can still lift the boat alone as I'm going to rewire with the hull upside down on a set of saw horses. Once the keel is adjusted I will strongback the hull opening and roll it over so that I can continue with my work. Hopefully I can square up the keel and hopefully it won't twist back out of true when I flip over.
  • CLICK HERE TO SHUFFLE MY PHOTOS

    Spot Track

  • Track Tsunamichaser
  • Spot Track
    Click link above the Spot to see where Tsunamichaser is.